 Eng
Eng
 Español
 عربى
عربى Deutsch
 русский
 Français
Content
You squared the deck, set the posts, and now the playhouse frame is waiting to be fixed to the post tops. The joint between frame and post is the most stressed part of the whole structure, and how you secure a frame on posts for a playhouse decides whether it stays level for years or starts to rock by next spring.
The reliable approach is to combine proper post embedment, galvanized through-bolts, and steel brackets. Screws and nails alone will not handle the sideways push and upward pull that children and wind create. This guide explains the loads, the hardware, and the step by step process, using the same connection logic that commercial playground manufacturers use.
Understand the Loads Before You Choose a Fastener
A playhouse frame carries three kinds of load. Dead load is the weight of the lumber and roof. Live load comes from children climbing and moving. Lateral and uplift loads come from wind and from anyone hanging on the edge of the deck. A fastener that handles downward pressure well may still fail when the same joint is pushed sideways or lifted.
The table below compares the common fastening options.
| Fastener | Shear resistance | Pull out resistance | Recommended use |
|---|---|---|---|
| 12d galvanized nail | Low | Very low | Temporary bracing only |
| No. 10 wood screw | Medium | Medium | Holding brackets to wood |
| 5/16 inch lag screw | Medium good | Good | Direct beam to post with pilot holes |
| 1/2 inch carriage bolt | Excellent | Excellent | Frame through post connections |
| Steel bracket with bolts | Highest | Highest | Corner joints and high wind zones |
The chart above ranks the relative holding strength of each fastener against a 12d galvanized nail. The nail is assigned a value of 100 percent. A 5/16 inch lag screw provides nearly double that value. A 1/2 inch carriage bolt reaches about three times the holding strength. Adding a steel bracket with bolts pushes the connection to almost four times the nail value. That is why the bracket and bolt combination is the recommended way to secure a frame on posts for a playhouse.
The radar chart compares three frame-to-post strategies on five practical factors. Screws score well on ease of installation and cost, but the area of their polygon shrinks sharply on holding strength and corrosion resistance. Through bolts stay strong across the middle of the chart, yet they need access to both sides of the post and are harder to adjust later. The bracket kit polygon covers the largest overall area, which means the most balanced performance across strength, corrosion resistance, ease of use, cost, and adjustability. A larger covered area also means fewer surprises in a windy storm or after a hard freeze. For a permanent playhouse, the bracket approach gives the best long-term result.
Embed the Posts So the Frame Has a Solid Base
Before you can bolt a frame to a post, the post itself must resist movement. The standard rule for a wood post in soil is to embed at least one third of the total post height. For an 8 foot post, that means 32 inches below grade, plus a 4 inch gravel layer so water drains away from the wood.
The line chart shows how lateral load capacity grows with embedment depth for a 4x4 post in a 12 inch concrete collar. Capacity stays low at 18 inches. It rises slowly to 24 inches. The curve turns steeply upward between 30 and 36 inches. At 36 inches, the post resists about three times the lateral force of an 18 inch embedment. The one third rule keeps most playhouse posts inside this steep and high capacity zone, so follow that rule rather than guessing.
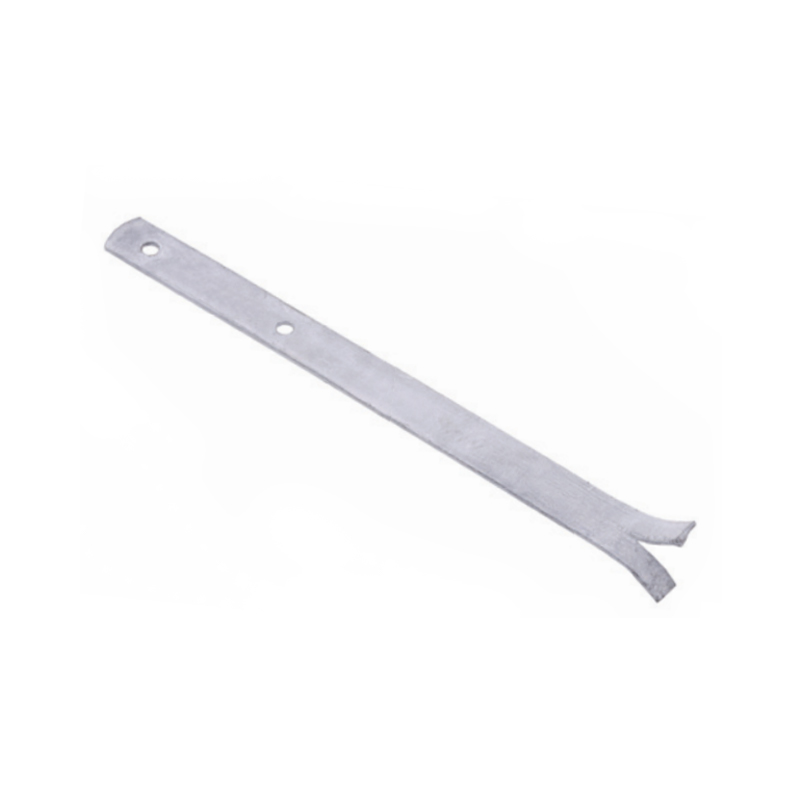 Hot-Dip Galvanized Split Ground Anchor for Playhouse PostsThis anchor replaces concrete footings for temporary structures under eight feet tall. Its split design and galvanized steel resist corrosion, and the included bracket secures posts against uplift and sideways movement in compacted soil.View Product →
For a temporary playhouse or a structure under 8 feet tall, a driven ground anchor can replace a concrete footing in well compacted soil. A hot-dip galvanized split ground anchor is driven into undisturbed soil at a 45 degree angle and connected to the post with a galvanized bracket, which holds against uplift and sideways movement. This style of anchor is faster to install than concrete and is easy to remove if you relocate the playhouse.
Pick a Bracket or Mounting Plate That Matches the Joint
A galvanized angle bracket transfers the load from the frame into the post through a defined path. Screw the vertical leg of the bracket to the post, then screw or bolt the horizontal leg to the underside of the frame. For a frame made of 4x4 lumber, use a 3 inch bracket rated for at least 500 pounds of lateral load. For a 6x6 frame or a windy site, go up to a 5 inch bracket and add through bolts on both legs.
Angle anchor sets are available in hot-dip galvanized steel and stainless steel. The hot-dip version is the first choice for most backyards. Stainless steel is better near the coast, because salt air destroys zinc plating quickly. Always use the full set of washers and lock washers that comes with the kit, and tighten the bolts to the torque value printed on the package.
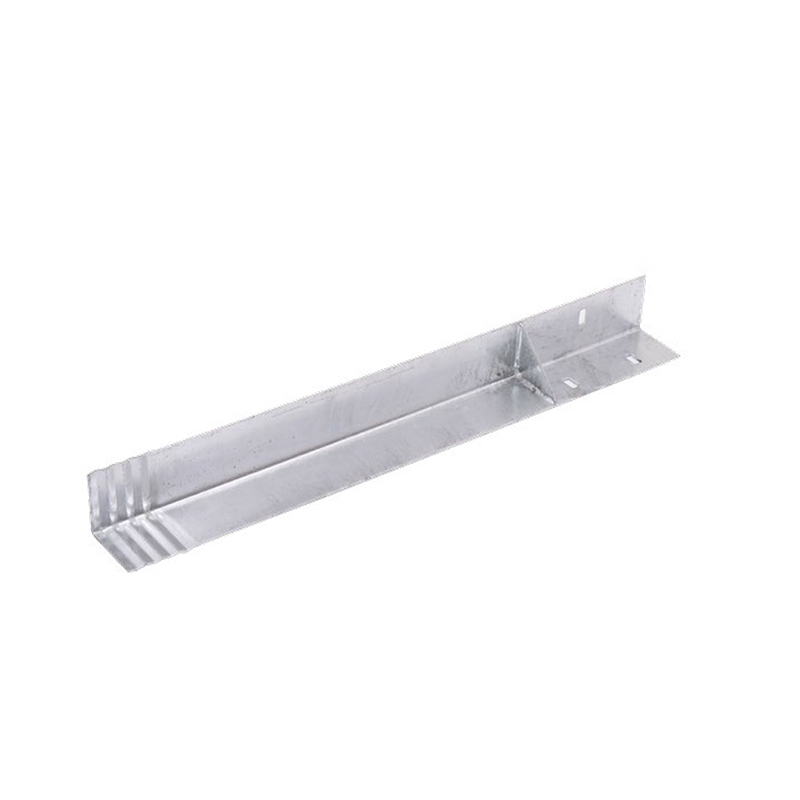 Hot-Dip Galvanized Angle Anchor Set for Wooden Play FramesThese angle anchors suit 90 to 110 mm play tower posts, with burr-free surfaces and safety caps. They provide weather-resistant reinforcement and help stabilize frame-to-post joints, aligning with the article's recommendation for heavier playhouse roofs or exposed sites.View Product →
The vertical bars compare the lateral capacity of four frame-to-post configurations using identical 1/2 inch bolts. A joint without brackets carries about 400 pounds before it starts to deform. A single galvanized angle bracket raises that to roughly 700 pounds. Two brackets on opposite faces bring the joint to about 950 pounds. A continuous stainless mounting plate holds the highest value, close to 1,050 pounds. This capacity difference matters for a playhouse with a heavy roof or one built on an exposed site, and it is why the bracket approach is recommended for the main frame to post joints.
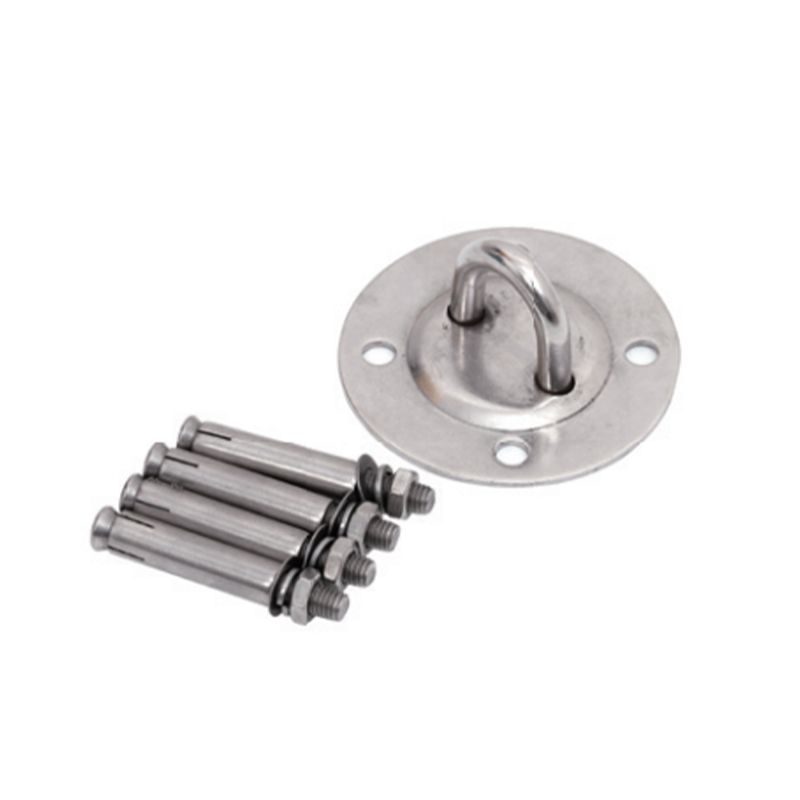 Stainless Steel Multi-Function Mounting Plate for SwingsThis 304 stainless steel plate with pre-installed expansion screws handles non-perpendicular joints by spreading clamping force and allowing shimming. Its central D-ring supports hammocks or swings, and it offers the highest lateral capacity among the tested bracket configurations.View Product →
A mounting plate also helps when the frame and the post are not perfectly perpendicular. The plate spreads the clamping force over a wide area, which prevents the wood from splitting at the bolt holes and leaves room to shim the joint to level. Use a plate on the inside face of each corner and a bracket on the outside for an elevated playhouse deck.
Secure the Frame to the Posts Step by Step
Wait at least seven days for the post concrete to cure, then make the final connection. Follow this sequence.
- Check each post top for level and plumb. Trim any post that is more than 1/4 inch out of level with a circular saw, or use a composite shim under the frame.
- Clamp the frame in place on the posts. Drill pilot holes through the frame and into the post with a wood bit that is 1/16 inch smaller than the bolt diameter.
- Brush exterior wood preservative into each pilot hole, especially on the end grain of the frame members.
- Insert 1/2 inch galvanized carriage bolts with a washer under the head and a lock washer under the nut. Tighten the nut until the washer touches the wood, then go one quarter turn more.
- For bracket connections, fasten the vertical leg to the post first, then drive screws through the horizontal leg into the frame. Do not overtighten the horizontal screws, because they can crack the frame.
- Install a diagonal 2x6 brace from the post top to the underside of the frame at a 45 degree angle. This removes most of the racking movement in an elevated playhouse.
- Recheck the frame with a level after every two bolts. A frame that is racked before final tightening will still be racked after, no matter how strong the hardware is.
When the playhouse sits on a slope, the uphill posts need the same embedment as the downhill posts, and the frame should be stepped so the deck surface stays level. Align all four posts with a string line before any concrete goes in, and double check the diagonals are equal before the concrete cures.
Inspect, Re-Tighten, and Watch for Common Failure Signs
Wood shrinks as it dries, and pressure treated pine shrinks the most. A joint that is tight on build day can loosen by the end of the first season. Plan a re-tightening pass 30 days after the build, then again every spring.
| Interval | What to check | Action |
|---|---|---|
| 30 days after build | Bolt tightness and frame level | Re-tighten all bolts and replace any stripped screws |
| Every spring | Rust on hardware, cracks in posts, concrete heave | Clean rust, replace damaged hardware, re-level the frame |
| After a major storm | Wobble at the frame to post joint | Re-tighten and add a second bracket if the joint moves |
| Every two years | Wood condition around the bolts | Patch soft spots and move hardware to fresh wood if needed |
The most common failure is not a broken bolt but a damaged connection around the bolt. Water runs down the post and sits in the bolt hole, and over a few seasons the hole becomes oval shaped. Catching the looseness early allows a simple re-tighten. Once the hole is oval, re-tightening no longer works and the frame has to be re-attached on a fresh section of the post or on a new post.
The same galvanized anchors, brackets, and mounting plates used on commercial swing sets are appropriate for playhouse posts, because both structures face the same patterns of sway, uplift, and heavy point loads. Parents who research outdoor equipment durability often look for the same properties covered in this checklist for choosing durable outdoor play equipment. If you are unsure about a joint detail on an elevated playhouse, send a sketch to the manufacturer technical team through the contact page, and include your post spacing and local wind conditions.
The quality of the soil matters more than the quality of the steel. Posts set in loose topsoil with a small concrete collar will move eventually, even if every bolt is perfect. Dig down to firm soil, make the hole wider at the bottom than at the top so the concrete cannot push out of the ground, and let the concrete cure fully before you load the frame. That process, combined with brackets and through bolts, is what keeps a playhouse frame secure on its posts for a full childhood.