 Eng
Eng
 Español
 عربى
عربى Deutsch
 русский
 Français
Content
- 1 Where Replacement Installations Usually Go Wrong
- 2 Four Specifications To Verify Before Ordering
- 3 Standard Replacement Installation Sequence
- 4 Typical Replacement Intervals For Common Parts
- 5 Why Strength Retention Matters More Than Appearance
- 6 Replacing Suspension Elements
- 7 Replacing Seats And Moving Parts
- 8 Anchor And Connection Hardware Replacement
- 9 Original Parts Compared With Generic Substitutes
- 10 A Short Purchasing Checklist
A cracked swing seat or a frayed suspension strap rarely fails without warning. It shows up first in an inspection log: a hairline crack in molded plastic, a quick connect clip that no longer opens by hand, or a ground anchor that has shifted after a winter of freeze and thaw. Here is the conclusion first: most playground accessory replacement jobs fail not because of poor workmanship but because of specification mismatch and installation order. When the replacement part matches the original in hole spacing, thread size and load rating, and when the work follows the correct sequence from anchor to seat, a two person crew can usually complete one replacement in 30 to 60 minutes.
The sections below describe the sequence and the checkpoints that maintenance teams actually use in the field. They are written for buyers, installers and facility managers who order spare parts for swings, climbing structures and playground hardware.
Where Replacement Installations Usually Go Wrong
In most service calls, the real failure point appears in the first few minutes after the box is opened, well before any tool is picked up. Four problems account for the majority of repeat repairs.
- The replacement part fits approximately, but hole spacing is off by two or three millimeters, so the installer opens the holes with a file and weakens the bracket.
- The old hardware is reused even though the threads are already worn and the plating has failed.
- The strap is wrapped a different number of times than the original design, which changes the swing path and side loading.
- Bolts are tightened in whatever order they are reached, so the last bolt has to be forced into place.
None of these mistakes is dramatic on its own. Stacked together, they shorten the life of the new component and often cause a second failure within the same season.
Four Specifications To Verify Before Ordering
Measure first, order second. Every replacement part should be checked against the original on the following four points, and all four should be confirmed before a single bolt is removed.
| Check item | How it is usually written | Practical tolerance | What happens when it is missed |
|---|---|---|---|
| Hole spacing and hole diameter | For example 10 mm holes at 150 mm centers | Plus or minus 1 mm | The bracket will not line up, and field drilling reduces structural strength |
| Thread size | M8 or M10 metric, 5/16 inch or 3/8 inch imperial | Must match exactly | Cross threading, stripped nuts, and bolts that loosen under repeated swinging |
| Load rating | Single point working load of 200 kg or 450 lb and above | Never lower than the original | Anchor deformation and a swing that feels unstable under adult weight |
| Material and coating | 304 stainless steel, hot dip galvanized, or electroplated zinc | Salt spray resistance not lower than the original | Accelerated corrosion in coastal, humid or high rainfall locations |
Use a caliper on the original part rather than judging from a product photo. A difference of two millimeters is invisible on a screen and very visible when the new bracket is offered up to the frame. If the original part is already deformed, measure a matching unit on the same structure instead of the damaged one.
Standard Replacement Installation Sequence
The working rule is simple: secure the load bearing anchor points first, then work outward to the moving parts. Following this order means every later component is fitted against a fixed and level reference.
- Isolate the work area and move loose fill or surfacing material away from the footing.
- Photograph the existing assembly and note how many turns the suspension strap takes around the beam.
- Remove the worn part and keep the old hardware in a labeled bag for comparison.
- Check the new part against the original for hole spacing, thread size and coating appearance.
- Install the ground anchors or expansion bolts first and tighten them to the specified torque.
- Attach the hanger, swivel or corner bracket to the anchor, then connect the suspension element.
- Fit the seat or activity part last, and tighten bolts in a diagonal pattern rather than in a circle.
- Swing the assembly through twenty empty cycles, recheck the torque, and write the values into the maintenance log.
Step eight is the one most crews skip. A twenty cycle test under no load reveals a loose connection before a child discovers it. Keep the photo from step two with the log entry, because the next replacement will compare against a known reference instead of memory.
Typical Replacement Intervals For Common Parts
Budget planning becomes easier when replacement intervals are grouped by material behavior rather than by product name. The figures below are planning benchmarks for outdoor installations with year round use.
The chart shows that fabric and connection elements reach their replacement point far earlier than structural seats, because ultraviolet light, rain and repeated flexing act on them at the same time. A nylon suspension strap and a quick connect clip are grouped at roughly 24 months, while climbing rope holds a little longer at around 30 months. Stainless steel swivel rings are rated near 30 months because their working surface wears through friction rather than corrosion. Galvanized swing hooks and molded plastic seats typically last longer, at about 36 and 48 months respectively. These values are indicative planning benchmarks, not manufacturer commitments, and a coastal site with high salt spray or a park with heavy daily traffic should shorten every interval by roughly one third. Regardless of the calendar, any seat showing a crack longer than a few millimeters should be taken out of service immediately rather than held until the scheduled date.
Why Strength Retention Matters More Than Appearance
A suspension strap can look perfectly sound while it has already lost a quarter of its original breaking strength. The curve below shows how a typical nylon strap behaves over its service life under outdoor conditions.
The first year of use takes a relatively small toll, and a strap that is twelve months old still holds about 93 percent of its original strength. The decline becomes steeper after eighteen months, when abrasion at the connection point and ultraviolet exposure begin to compound. By month 24 the retained strength sits near 78 percent, and by month 30 it drops to roughly 66 percent. That last figure matters because a strap rated at 200 kg would by then be carrying an effective margin of only about 130 kg. Because a visual check cannot measure this loss, replacement should be driven by the calendar and by cycle counts rather than by appearance alone. If a facility shares equipment between many users, shortening the interval to 18 months is a reasonable and inexpensive form of risk control.
Replacing Suspension Elements
Suspension elements are the most frequently replaced group, and the choice between a strap, a chain and a rope changes both the feel of the swing and the maintenance routine. A nylon strap distributes load over a wide contact area and is quiet in use, which suits tree branches and timber beams where a chain would bruise the surface. A chain resists abrasion better in sandy locations, but it needs a swivel to avoid twisting and it must be checked for wear between the links. Whichever type is selected, the wrap count and the attachment point should match the original installation drawing, because a change of even one wrap alters the swing arc and increases side loading on the anchor.
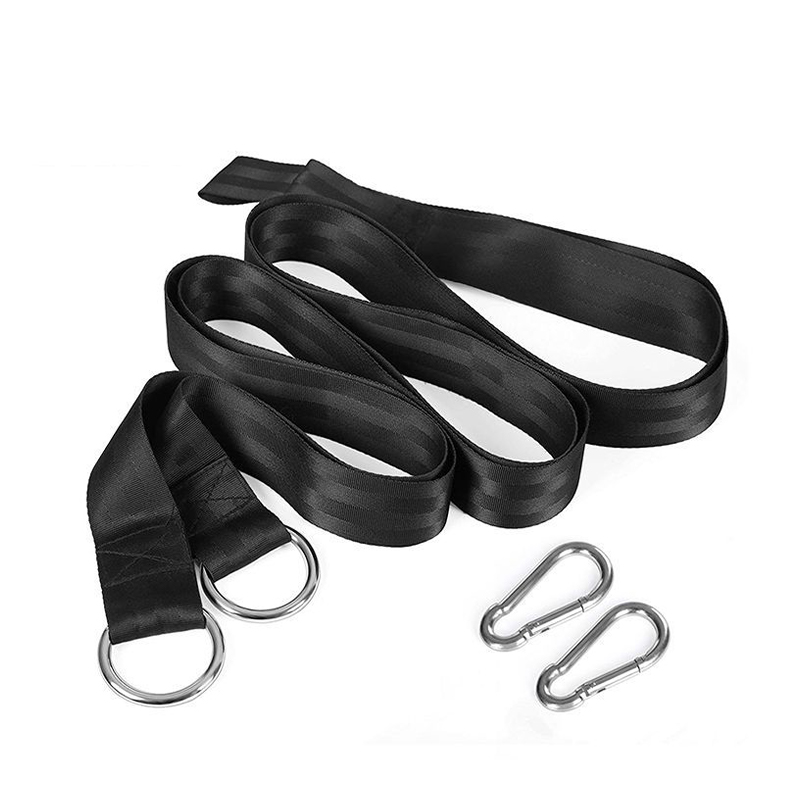 High-Strength Nylon Suspension StrapPREV:No previous articleView Product →
When ordering, confirm the strap width, the rated working load and the coating on any metal end fittings. A strap that is one centimeter narrower than the original will still fit the bracket, but it will wear faster at the edge where it contacts sharp metal.
Replacing Seats And Moving Parts
Seats carry the most direct contact with users, so their replacement criteria are stricter than those for structural hardware. Any crack that runs through the full thickness of a molded or timber seat is a replacement trigger, not a repair item. Timber seats should also be checked for splintering along the edges and for soft spots around bolt holes, which indicate internal decay. Soft board and EVA seats are more tolerant of impact but degrade faster under strong sunlight, and their surfaces become hard and brittle before they visibly crack.
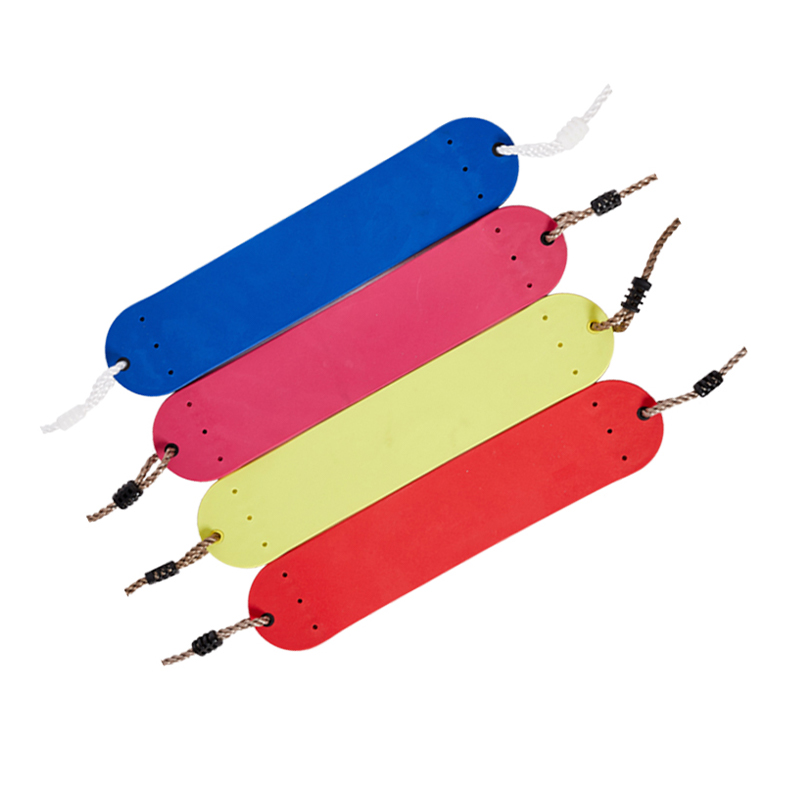 Eva Soft Board U-Swing With ChainPREV:Plastic Blow Molding Swing SeatView Product →
After fitting a new seat, check that the seat hangs level and that the distance from the ground to the underside matches the original measurement. A seat that sits five centimeters lower will change the entry and exit height, which is a common source of minor injuries at busy sites.
Anchor And Connection Hardware Replacement
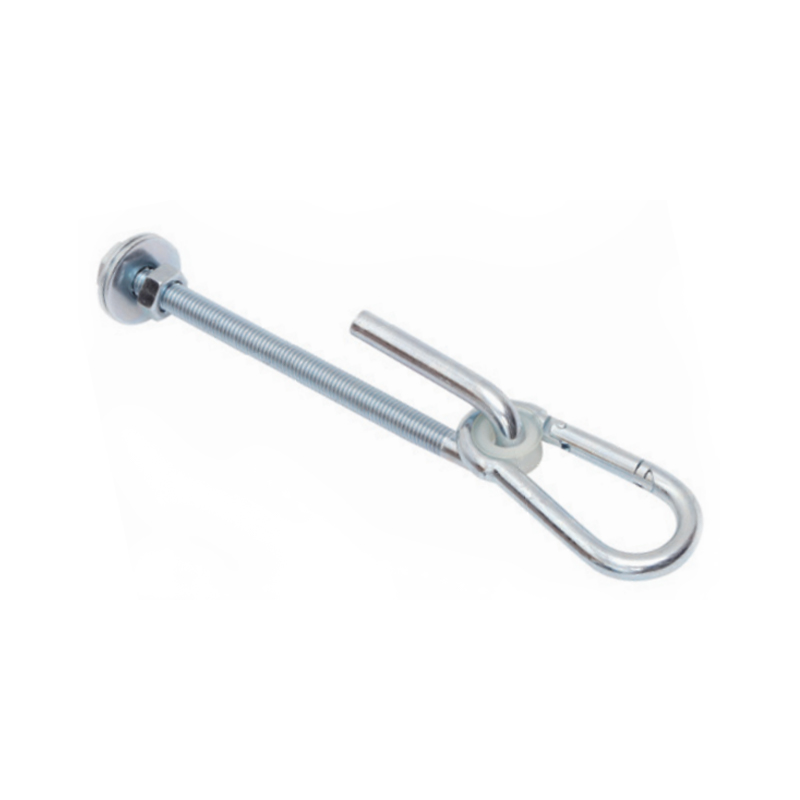
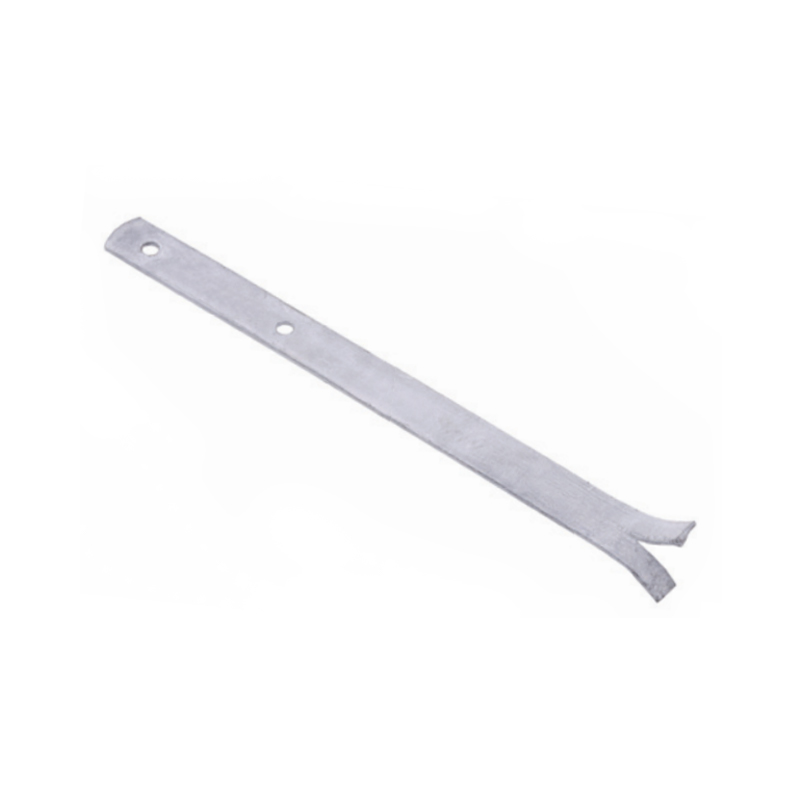
Anchor hardware determines whether the whole assembly stays in place, and it is the least forgiving part of any replacement job. The comparison below shows indicative pull out resistance for common anchor types in compacted soil, which is useful when an existing anchor must be upgraded rather than simply replaced.
The chart compares five common fixing methods on the same soil condition, and the spread is wide enough to change a purchasing decision. Simple ground stakes sit at the bottom with roughly 180 kg of indicative resistance, which is adequate only for light domestic use. A split ground anchor reaches about 380 kg because its two plates load the soil in opposing directions, while a cast expansion bolt into concrete achieves the highest value at around 420 kg. Flat mounting plates rely on the strength of the timber or metal beam they are fixed to, and their figure of about 300 kg drops quickly if the beam has softened. A strap wrapped around a branch or rail is the least predictable option at roughly 250 kg, since the result depends heavily on how the wrap is finished. When a replacement job involves upgrading rather than matching, moving from a stake to a split anchor is usually the single most effective change available.
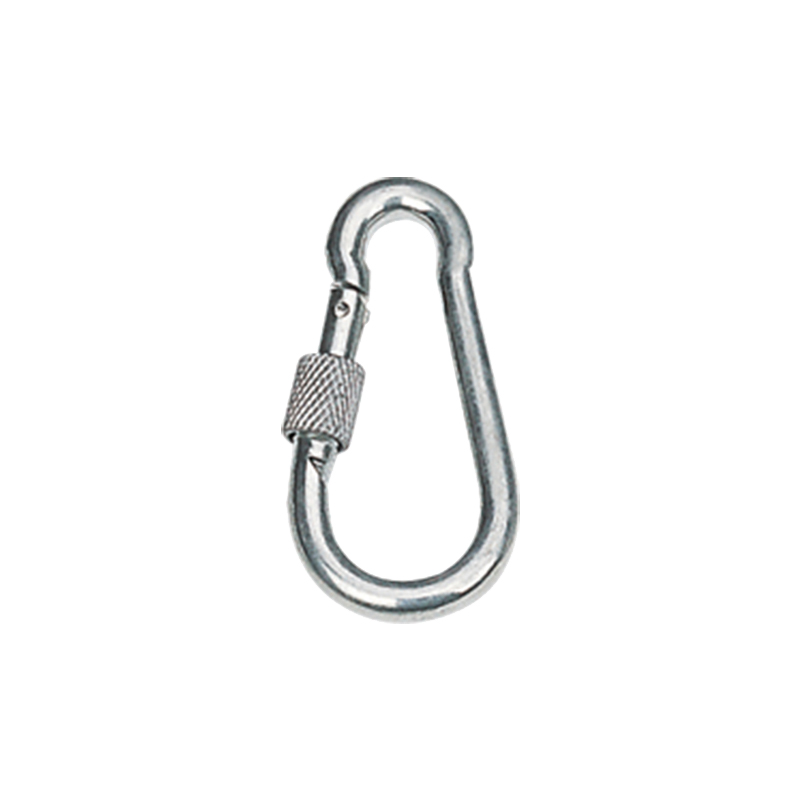 Galvanized Iron Quick-Connect ClipsPREV:Galvanized/Stainless Steel Quick-Connect ClipsView Product →
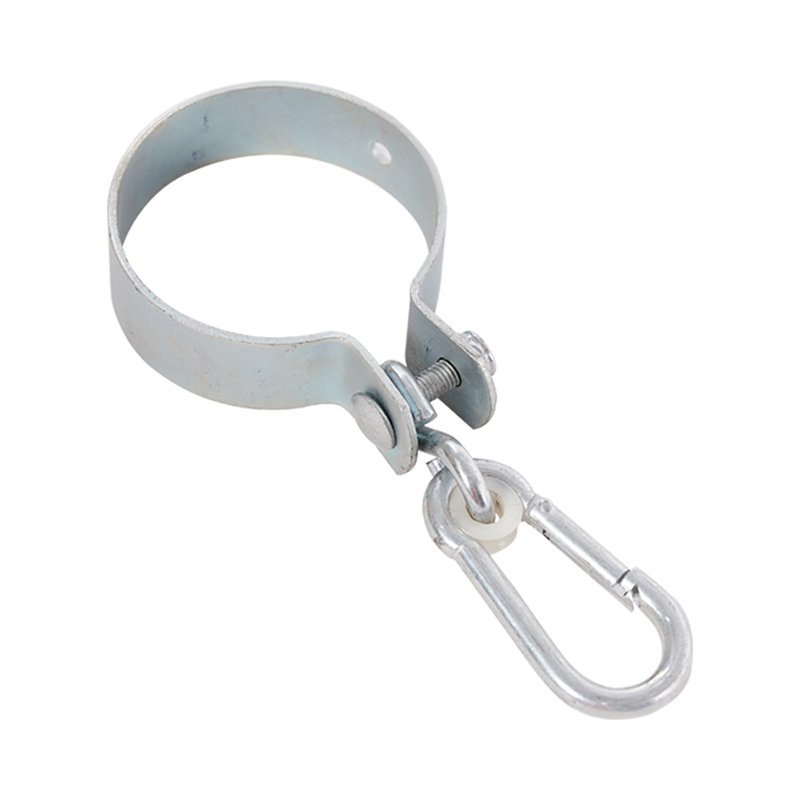
Connection hardware deserves the same attention. A quick connect clip that has lost its spring action should be replaced together with the anchor, because a worn clip can slip off a new ring just as easily as it slipped off the old one.
Original Parts Compared With Generic Substitutes
Buyers often ask whether a lower cost substitute can be used when the original supplier is unavailable. The comparison below scores both options across the five factors that decide whether a replacement actually lasts.
The green shape stays close to the outer ring on every axis, which means an original specification part generally fits without modification, arrives with test documentation, and holds up over a longer service life. The grey shape sits noticeably inside it on dimensional fit and maintenance cost, because a generic part usually requires field adjustment and needs to be replaced sooner. The gap is widest on certification, where the substitute offers little or no traceable test data at all. Installation time also favors the original part, since a component that lines up on the first attempt saves 10 to 20 minutes of labor per unit. Over a full site with twelve swing positions, that difference alone can offset a meaningful part of the higher unit price. The comparison is not an argument against every alternative supplier, but it does mean a substitute should be measured and tested before it is bought in volume. Facilities that must document compliance should also confirm what a safe and durable climbing system looks like before accepting an unknown part into a public playground.
For larger projects, the practical approach is to request samples of both options, install one of each in a low traffic position, and inspect them after six months. That test costs very little and produces evidence that a specification sheet cannot provide.
A Short Purchasing Checklist
Before releasing a purchase order for replacement accessories, confirm the following points in writing with the supplier.
- Hole spacing, hole diameter and thread size, quoted as measured values rather than catalog codes.
- Working load per attachment point, and whether the figure applies to a single point or to the complete assembly.
- Material grade and coating method, with an expected salt spray duration where relevant.
- Whether installation instructions, torque values and spare fasteners are included in the shipment.
- Lead time for repeat orders, since a second replacement may be needed within the same season.
For custom or non standard swing structures, send a drawing or a physical sample along with the enquiry. A manufacturer that produces its own injection molded, metal and coating parts can usually match an existing geometry instead of forcing a near equivalent onto the frame. Buyers who need a specific finish, color or load rating should contact the factory directly so the requirement is captured before production begins.
Replacing playground accessories is a routine maintenance task, but it rewards preparation far more than speed. Measure the original part, verify the four specifications, follow the sequence from anchor to seat, and record every torque value you apply. Done that way, a replacement that takes an extra twenty minutes to plan will typically last a full season longer than one rushed into place.