 Eng
Eng
 Español
 عربى
عربى Deutsch
 русский
 Français
Content
- 1 Age Banding Decides More Than Equipment Choice
- 2 Three Functional Zones, Not One Open Field
- 3 Swing Areas: Where Most Layout Mistakes Start
- 4 Climbing Routes and Upper Body Play
- 5 Slide Placement and Runout
- 6 Surfacing Depth Follows Fall Height, Not the Budget Line
- 7 Circulation Widths and Sightlines
- 8 Hardware and Anchoring Decide How the Layout Ages
- 9 Common Layout Errors to Check Before You Order
A 12 m by 18 m plot, four pieces of equipment, and a plan that looked fine on screen. On the first busy Saturday, two problems appeared at once: children leaving the slide ran straight through the swing use zone, and carers with prams had no route that avoided either. Nothing was wrong with the equipment. The layout had never been tested against the way children actually move.
The short answer is that playground layouts are decided by age banding, use zones and circulation, in that order. Equipment selection comes last. Sites that get those three right usually feel larger than they measure, cost less to install, and pass inspection with fewer late changes.
Age Banding Decides More Than Equipment Choice
Children between two and five and children between five and twelve use the same ground in completely different ways. A two-year-old climbs slowly, falls from low heights, and stops without warning. A ten-year-old runs in straight lines and swings at full speed. Put them in one open area and the younger group spends the afternoon defending space instead of playing in it.
Separation does not need a wall. A planted strip, a low timber edge or a change of surfacing is usually enough to signal a boundary, as long as both areas stay within one sightline from the seating. Keep the toddler area closest to the entrance and to the carers, because that is where supervision is most concentrated.
| Age band | Main play behaviour | Layout consequence |
|---|---|---|
| 6 to 23 months | Crawling, pulling up, first steps | Small enclosed area beside seating, fall height kept low |
| 2 to 5 years | Climbing, belt swings, role play | Enclosed loop, short distances, clear sightlines |
| 5 to 12 years | Rope routes, upper body work, fast slides | Wider separations, longer runouts, more circulation space |
| Carers and prams | Supervision, waiting, moving through | Seating inside the sightline, routes that bypass use zones |
Three Functional Zones, Not One Open Field
Most layouts that work well in daily use break down into three zones:
- Active zone. Swings, climbers, slides and anything with a defined fall height.
- Social zone. Role play panels, sand, seating, shaded gathering points.
- Circulation zone. Entrances, paths, and the ground people cross to reach equipment.
The rule that matters is that circulation must not pass through a use zone. A path that clips the corner of a swing bay looks harmless on a drawing, but it puts a walking adult inside the area where a seat can travel. Route paths around the active zone instead, even when the detour costs a few metres.
Swing Areas: Where Most Layout Mistakes Start
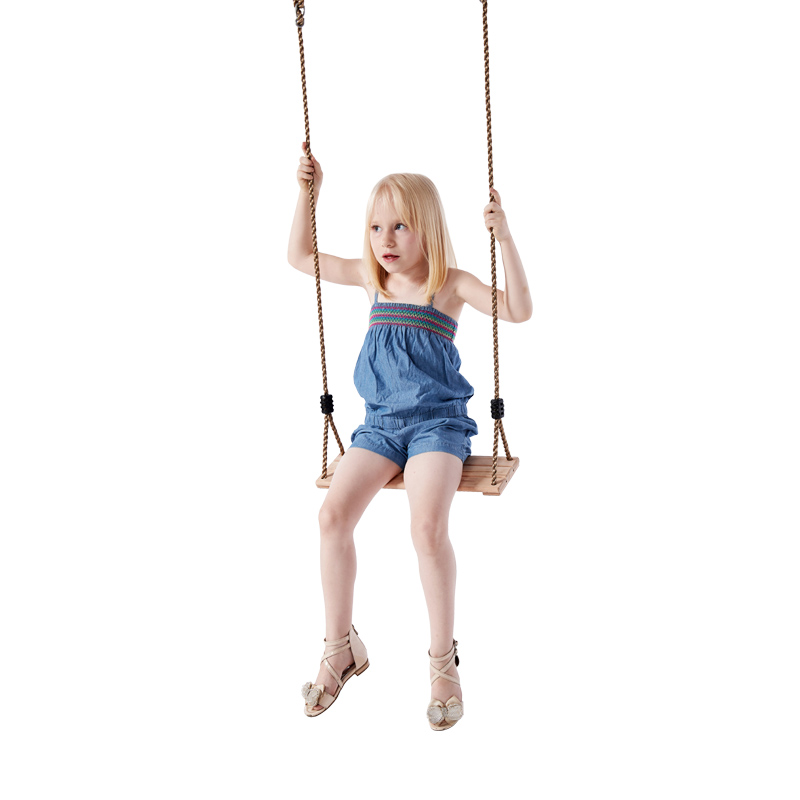
Swings need more space than any other common item, and the space is not where most people expect it. For a to-and-fro swing, the use zone in front of and behind the seat is commonly calculated as twice the height of the pivot point above the ground, measured both forward and back. On a 2.4 m frame that is close to 5 m in each direction before another structure may begin.
Seats are usually spaced at least 600 mm apart, with clear space at each end of the frame so a seat cannot strike an upright or a nearby post. If two frames share one area, keep their use zones separate rather than interlocking them.
A rigid, properly braced frame makes the rest of the layout easier, because pivot height and seat spacing are fixed by the product instead of adjusted on site.
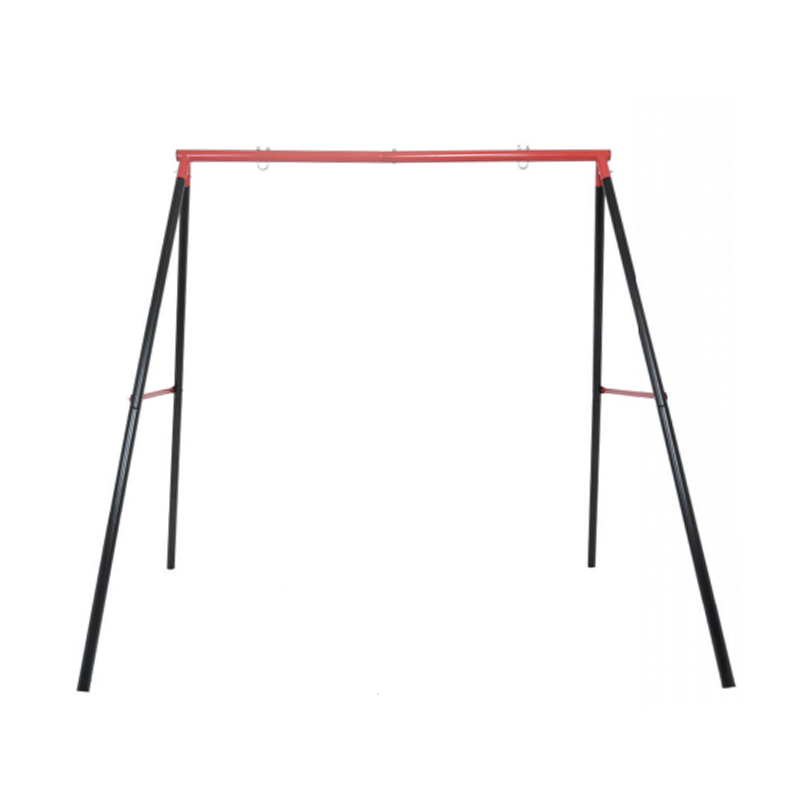 Heavy-Duty Rust-Proof Double Swing FrameA rigid A-frame with anti-tipping base and weather-resistant coating, fixing pivot height and seat spacing for stable dual-swing setups.View Product →
Where there is no suitable tree or beam, a self-supporting frame also removes the temptation to hang a seat from a branch that will grow, move or fail.
Climbing Routes and Upper Body Play
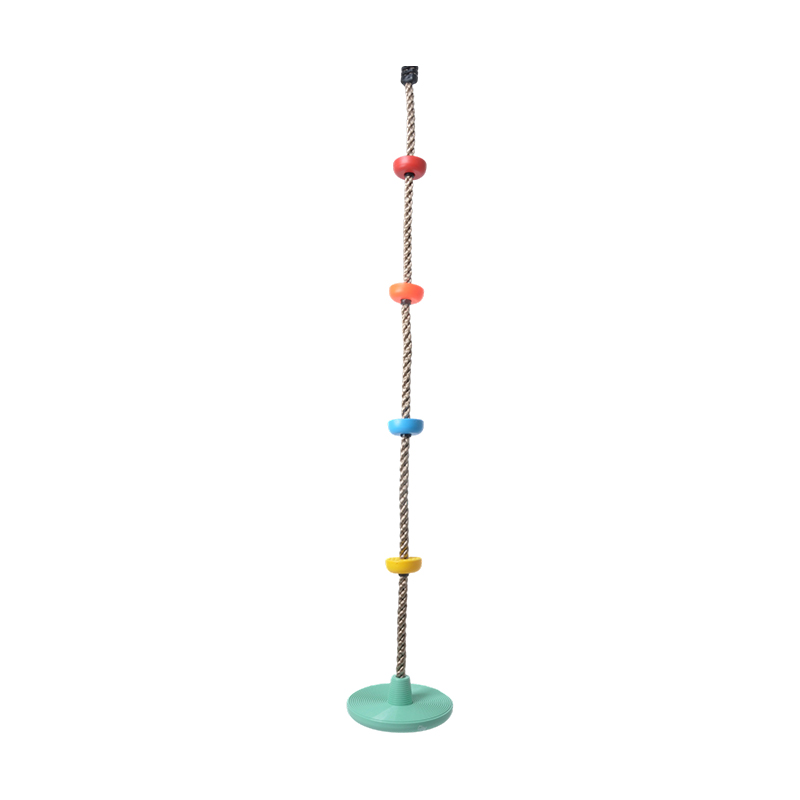
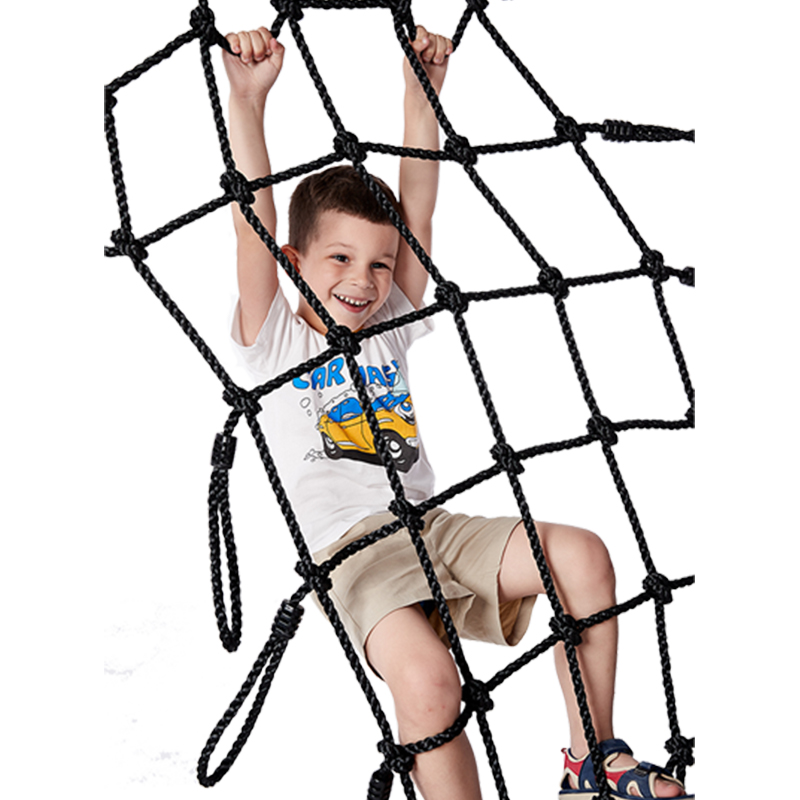
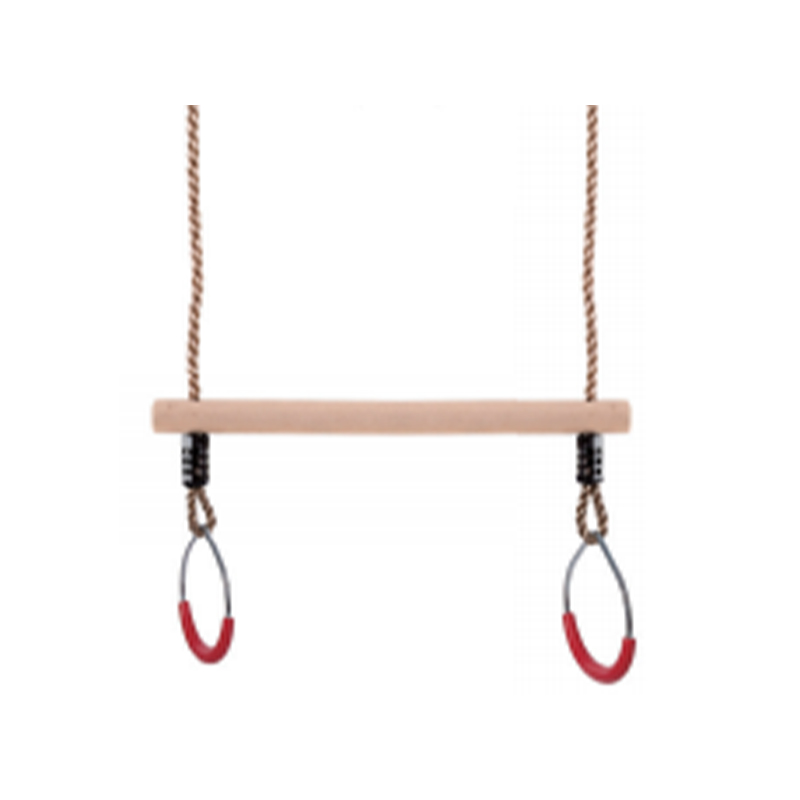
Climbing equipment is judged by the highest point a child can reach, not by the height of the platform. A rope net that looks low at its centre can put a child much higher on the outer edge, and that position sets the fall height for the whole structure.
As a working figure, the use zone usually extends at least 1.5 m beyond the outer edge of the equipment, widened to about 2 m on taller routes so running children stay out of the landing area. Where several climbers sit together, arrange them so that one route does not discharge a child into the base of another.
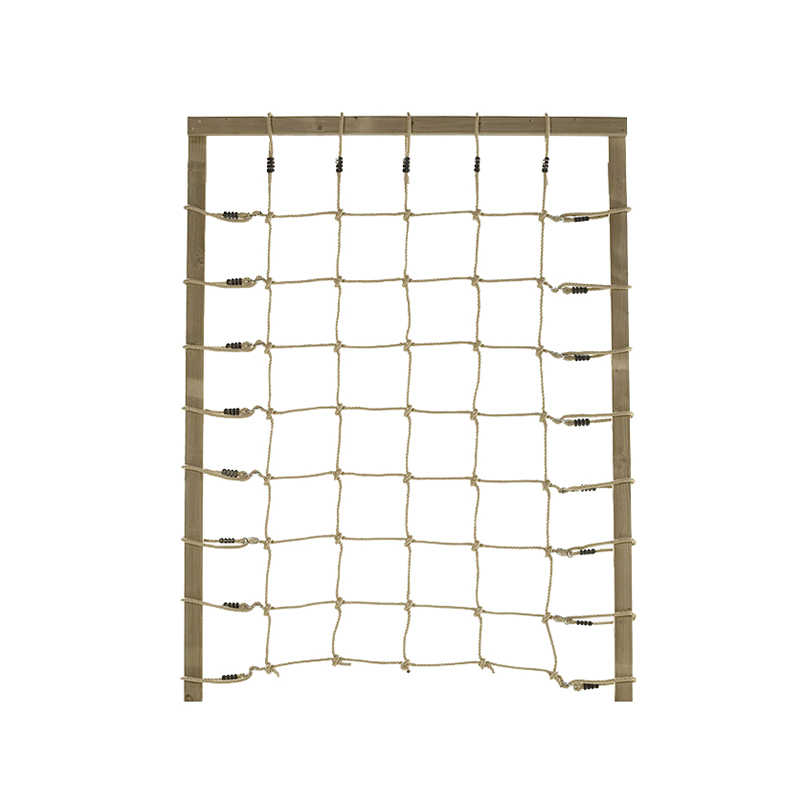 Hand-Woven Climbing Net for Wooden FramesHand-woven polyethylene climbing net with adjustable buckles and 10 mm ropes, offering progressive climbing practice for irregular outdoor spaces.View Product →
Rope and net products suit irregular plots because they follow a boundary that would be too tight for a rigid steel structure. For a closer look at the details that make these systems survive outdoors, see this guide to safe and durable climbing systems.
Slide Placement and Runout
A slide is the one item that keeps moving after the child has left it. The runout in front of the exit is often set at roughly twice the height of the platform above the exit, with a minimum of about 2 m, and that ground has to stay clear of the swing area, the circulation route and any other structure.
Orientation decides whether a slide works. Point the exit into the middle of the active zone so children slow down inside the zone rather than arriving at a path. Never place the exit facing the entrance, a gate or a bench, and avoid pointing it at a wall or fence where a child has nowhere to decelerate.
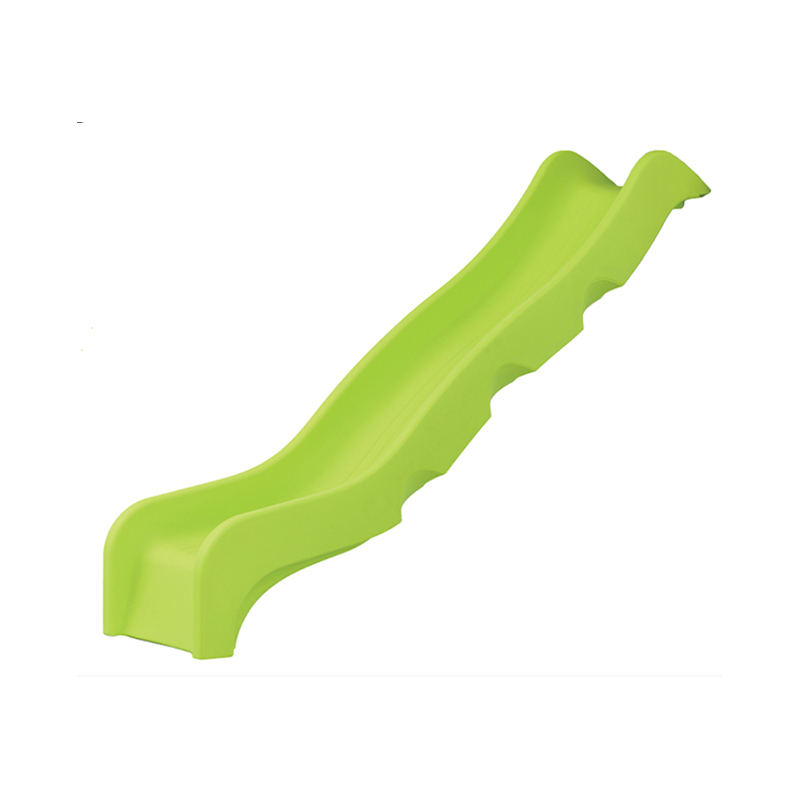 Multi-Size Kids Plastic Slide for PlaygroundsHigh-density PE slide in four lengths with anti-slip steps, smooth curves and UV resistance, suited to safe active-zone placement.View Product →
Surfacing Depth Follows Fall Height, Not the Budget Line
Surfacing is usually the largest single line in a playground budget and the item most often trimmed without a layout review. Loose fill depth is set by the critical fall height of the equipment above it, so the surfacing plan belongs with the equipment plan, not after it.
| Critical fall height | Loose fill depth, engineered wood fiber | Typical equipment |
|---|---|---|
| Up to 1.5 m | About 150 mm | Toddler slides, low climbers, spring items |
| Up to 2.0 m | About 200 mm | Belt swings, small platforms |
| Up to 3.0 m | About 230 mm or more | Larger decks, nest swings, climbing nets |
| Above 3.0 m | Specify a certified system | Rope courses, high towers |
Two details decide how that depth survives the first year. Loose fill migrates out of the busiest points, so slide exits and the ground under swing seats usually need a wear mat or regular top-ups. Edge restraints should sit outside the use zone where possible, so a child who falls near the boundary still lands on surfacing rather than on a timber edge.
Circulation Widths and Sightlines
Path widths are usually under-planned. A single clear route of 1.2 m works for one person at a time, but children rarely walk in single file. Where a path runs between two active items, plan for 1.6 m to 1.8 m, and keep at least 2 m between the path edge and any swing bay or slide runout.
Sightlines are the cheapest safety feature on any site. An adult seated at the main bench should see every zone without standing up, including the far corner of the toddler area and the landing at the bottom of each slide. Keep storage, planting and sign boards out of the corners where they would create a blind spot, and make sure gates stay visible from the seating.
Hardware and Anchoring Decide How the Layout Ages
Layout drawings usually stop at the equipment footprint, which is why so many otherwise good sites develop problems in year two. The parts that connect equipment to the ground and to each other decide whether the spacing stays where the plan put it.
- Swivel rings cut chain twist on swings, which keeps seats hanging true and stops them drifting towards a neighbour.
- Ground anchors and expansion bolts keep a frame plumb; a frame that shifts changes the effective use zone.
- Suspension straps and quick connect clips allow seat height to be adjusted without dismantling the frame.
- Corner brackets and mounting plates let a frame be braced properly instead of relying on post strength alone.
Material choice matters in humid and coastal climates. Hot dip galvanised and stainless hardware costs more at purchase and less over the life of the site, because a layout is only as stable as the fixings holding it in place.
Common Layout Errors to Check Before You Order
- Measuring from the edge of the equipment instead of the edge of the use zone, which quietly consumes 2 m of open space.
- Placing a bench, bin or planter inside a swing use zone because it needed a home.
- Letting a slide runout cross a path, so children and walkers share the same strip of ground.
- Putting the only entrance at the far end of the site from the toddler area.
- Treating platform height as fall height on climbing equipment.
- Finalising the surfacing plan before equipment positions are fixed.
A layout review costs an afternoon and a roll of marking tape. Set the use zones out on the ground at full size, walk the circulation routes, and check that a seated adult can see every landing point. Changes at that stage are free. Changes after the footings are poured are not.
If you are specifying swings, climbing items or installation hardware for a new site or a refurbishment, we can work from your layout or your equipment list and confirm the dimensions that matter. Send your drawings through our contact page and we will come back with the parts that fit.